Almost
two years on, I reprised
my The West Rises
campaign on
a bank holiday afternoon – this
time with my newly released Midst Battle's Din
rules instead of Sharp
Practice or
Muskets &
Tomahawks.
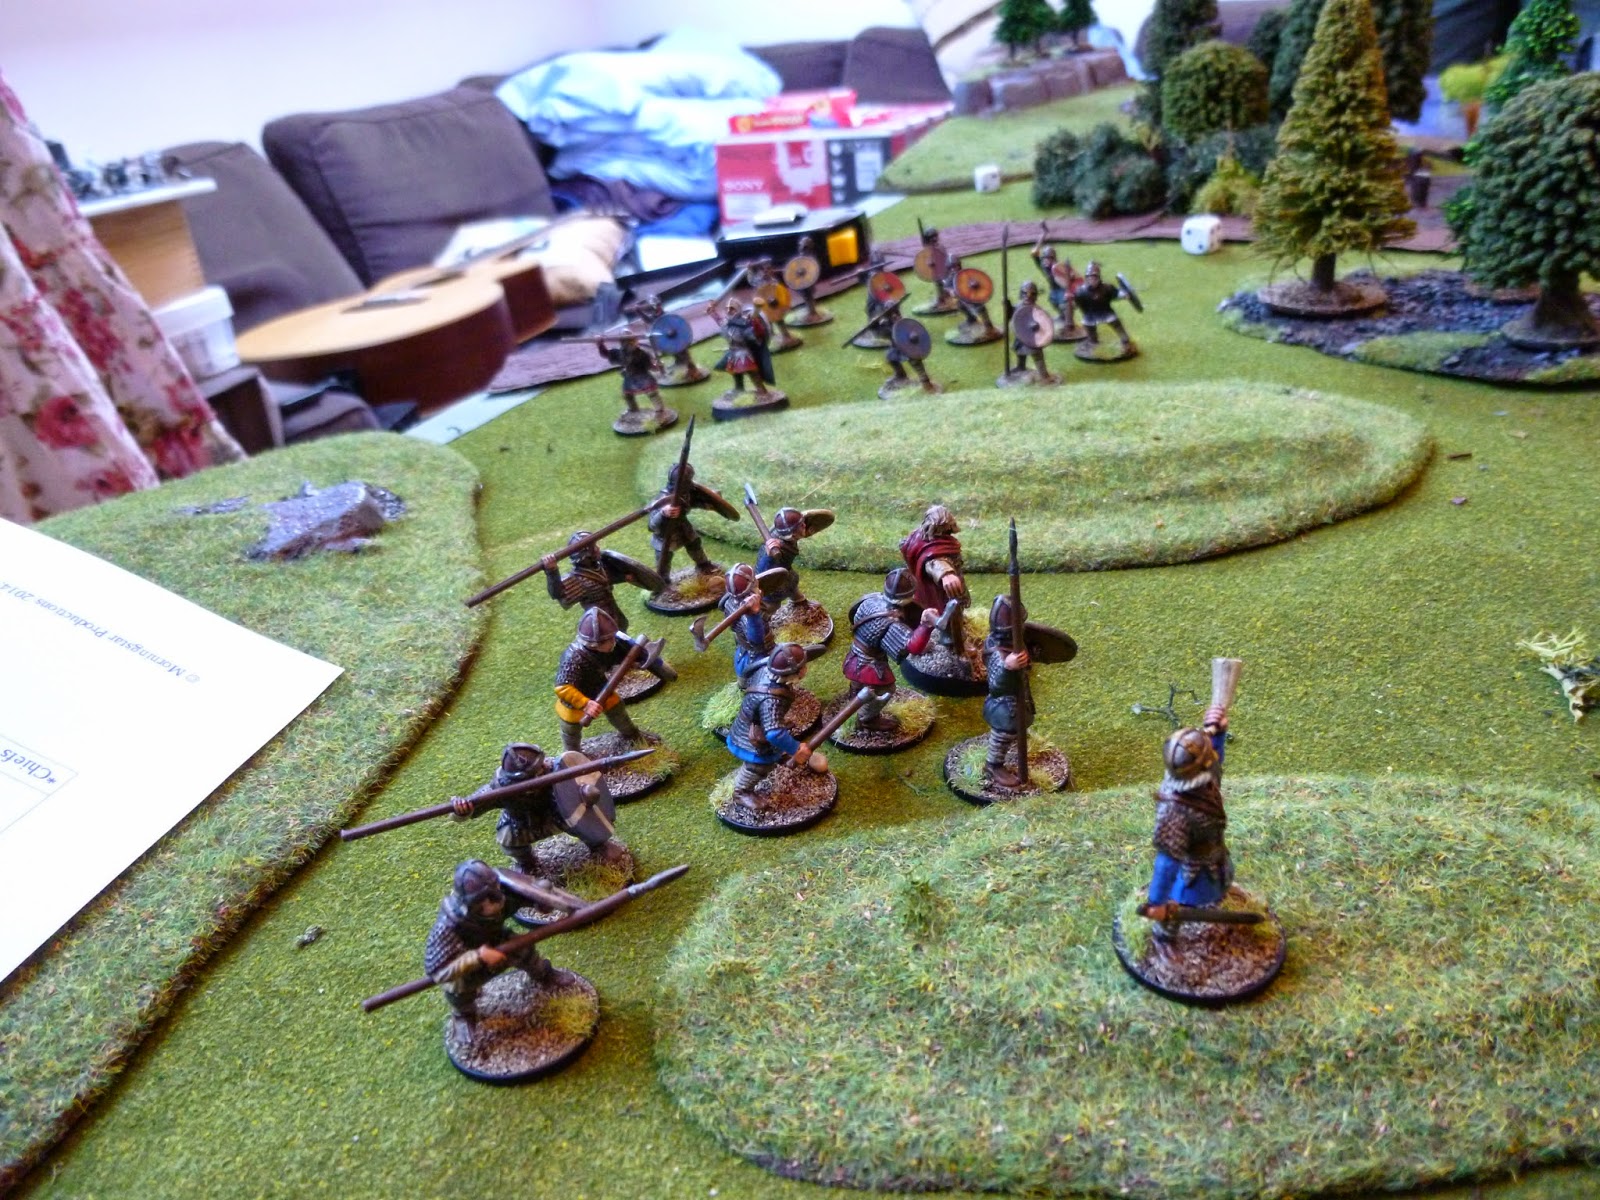
Setting the Scene
The
crossroad
hamlet
of Kirk's Cross is a quiet one, but one which hides a secret –
hiding
in the ruined tower just outside the settlement are a group of
Jacobites! But that is no longer a secret. Now the vicious Captain
Castagne and his men have come to bring fire and sword to Kirk's
Cross in the name of the king, and the villagers will have to decide
whether to swear fealty to far-off King George or the hidden Prince
Charlie. Of course really, it's no choice at all...
 |
| Govt. coming from the bottom, Jacobites hiding & top. |
The
Hanoverians:
35
men, Inspiration 3
Captain Castagne: Toughness 3, Fight +1, Regular, Inspiration 0, Luck
7, sword & pistol, mounted
Sergeant
Frost: Toughness 3, Fight +1, Regular, Inspiration +2, Luck 6,
halberd
& pistol
Captain
Macguire: Toughness 2,
Fight +2, Regular, Inspiration +1, Luck 8, sword
& pistol
16
British Infantry: Toughness 2, Great Aim, Fight 0, Regular, muskets
& bayonets
16 Black Watch: Toughness 2, Good Aim, Fight +1, Regular, muskets &
bayonets
Victory
Conditions: 4pts
for each house burned or Jacobite character killed (max 40pts)
The
Jacobites: 46
men, Inspiration 3
Laird Micawber: Toughness 2, Fight +1, Irregular, Inspiration +1,
Luck 9, sword & pistol, mounted
Father McCruil: Toughness 2, Fight -1, Irregular, Inspiration +2,
Luck 6, musket
The Micawber Twins: Toughness 3, Fight +1, Irregular, Inspiration 0,
Luck 7, sword & pistol
26
Highlanders: Toughness 2, Good
Aim, Fight +1, Irregular, mix of weapons
16 Jacobite Milita: Toughness 2, Good Aim, Fight 0, Militia, muskets
& bayonets
Victory
Conditions: 1pt per dead king's man or
house unburned
(max
41pts).
The
Start of the Game
The
British set up with a three-pronged approach, coming
on from three lanes of the crossroads.
Castagne
& Frost led the King's Own Royal Borderers in the centre, and
Macguire's Black Watch took
a flank each.
The
Jacobites mostly
set up Hidden, except for Laird Micawber, who was leading the militia
on from the other board edge. Having won the initiative, they
were unwilling to do much with it. One house opened fire on the group
led by Macguire, killing a man. Micawber's militia advanced a little,
and then the Hanoverians reacted.
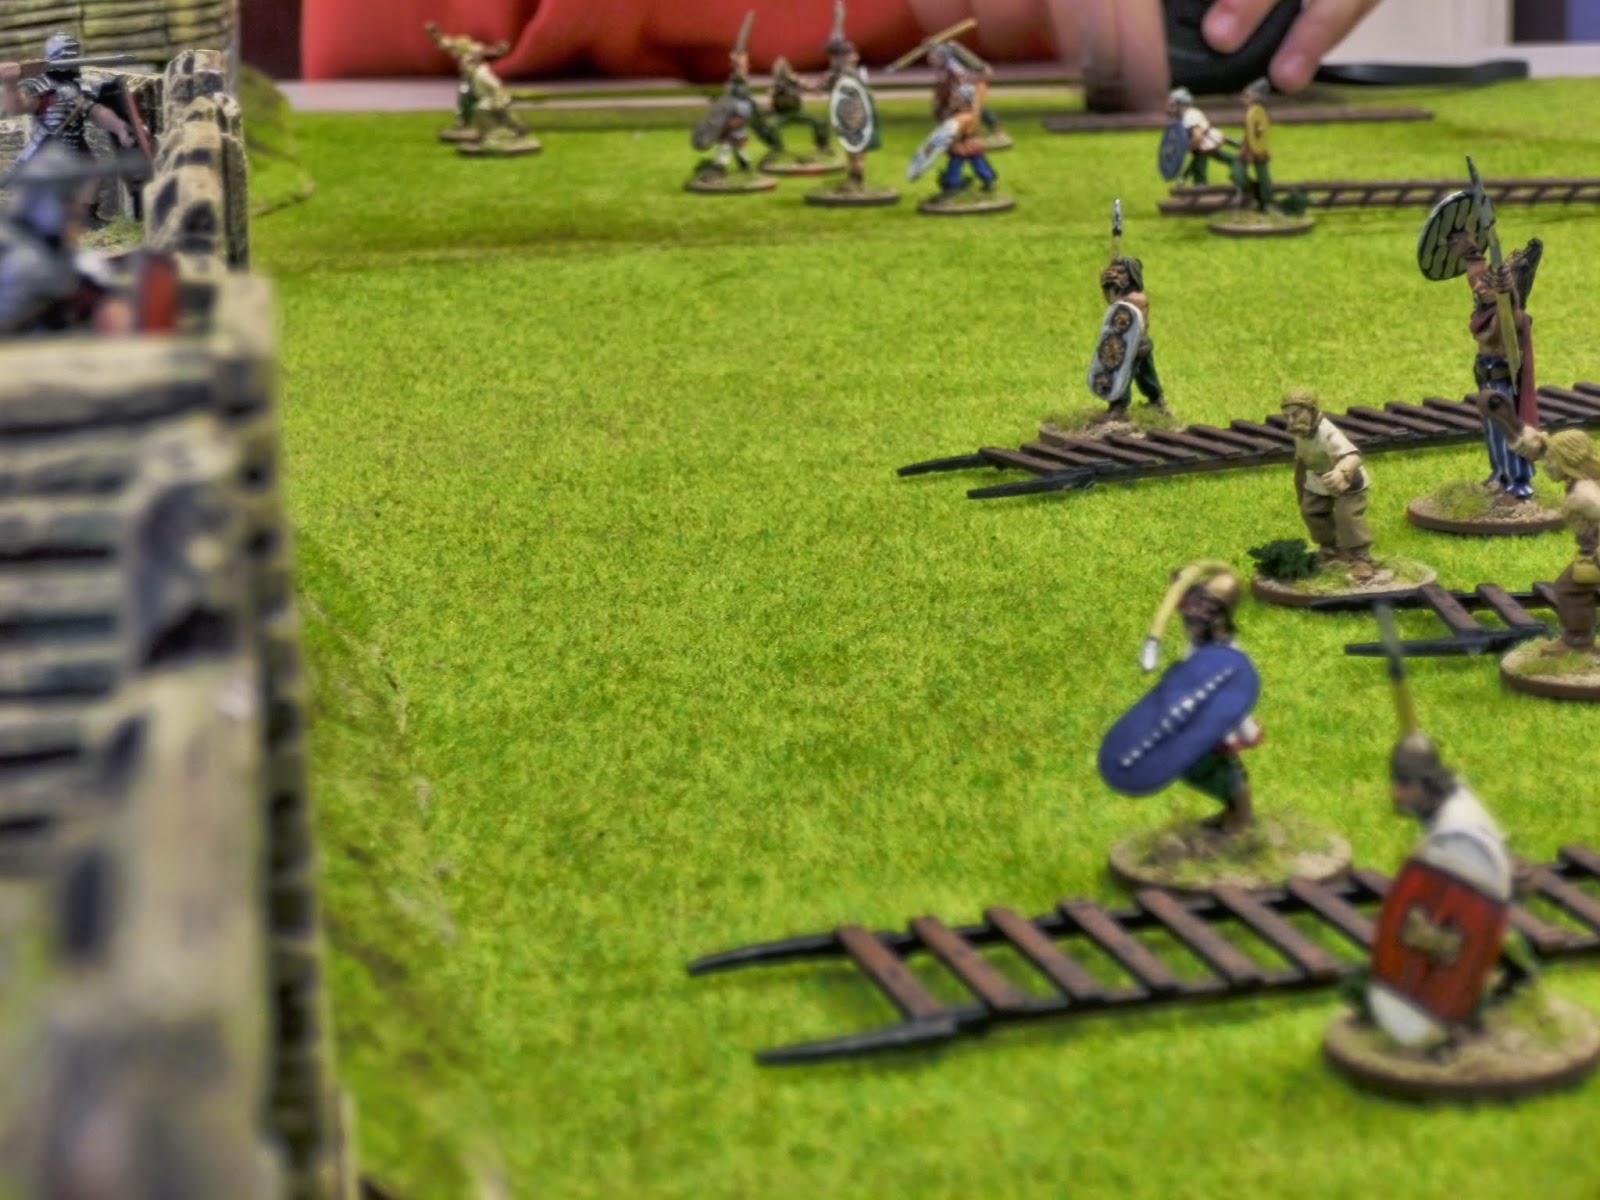
 |
| Macguire's men receive the first volley of the game. |
Macguire
rallied his men and led them forward to let off a volley in fine
style against the smoke-wreathed house. The
Black Watch on the other flank tried and failed to set the first
house alight – clearly they had not lit their torches for fear of
alerting the highlanders
to their arrival. Castagne
and his men had clearly had no such qualms, and their target hovel
whooshed
into flame as they hurled torches through the windows and the holes
they beat in its wattle walls. Frost
was rather more circumspect, and led his men into the bushes to
observe the village in case a reserve was needed.
 |
| The first house goes up in flames. |
Macguire's
men were cruelly served on the second volley from the house – two
more men were blown away by
heavy homemade musket balls. The
village filled with warcries as highlanders and militiamen moved to
stop Castagne's arson.
Ignoring
the inflammable house for now, the Black Watch charged their
recidivist brethren with drawn bayonets. Men screamed and died on
both sides, a pyrrhic victory for the government men. The
highland survivors were shot down almost to a man by Castagne's
firing line, and
the last man fled into the hills.
Sickened
by his men's deaths, Macguire led his group in setting fire to the
house with the Jacobites still inside. Shocked,
Frost led his men forward to remonstrate with him.
 |
| Fighting breaks out in the streets. |
One
more quick burst of fire came from the house, and then from the door
burst a flood of bellowing clansmen, attacking Englishman and
Scotsman alike. Any redcoat was to be stained crimson today. Met
by a hedge of bayonet points, they were backed back toward the
burning building. From
behind them, at the call of a Micawber twin, a new pack of
highlanders burst out of hiding and fired a volley at Macguire and
his men that left him and another Black Watchman dead on the ground.
On the other side of the village, two other Watchmen died to Jacobite
bullets too.
 |
| The end of the beginning, with fire & Disorder markers. |
The Midpoint: British Inspiration 2, 8VPs | Jacobite Inspiration
3, 14VPs
Aware
of Micawber's militia advancing
towards him, Castagne bellowed to his men. Ree-load!
Wheeel-right! Aim... Fire! Fully
half the Scots before them fell, and the rest thrown into disarray.
Frost
and his men countercharged the highlanders who had fled the burning
building, cutting most of them down. On the other flank, the
survivors of the Black Watch shamefully fled the board. Smirking,
the Jacobites repositioned themselves, advancing toward the
ever-weaker British lines.
 |
| Reinforcements in the distance as Jacobites round the house. |
Macguire's
survivors recovered their nerve and gallantly charged the foe. It did
not go well for them. Nor
did Frost and his men succeed in their own charges against the kilted
men before them. Only
Castagne's masterful move-and-fire gave a glimmer of hope to the
government men, smashing as it did the Jacobite centre.
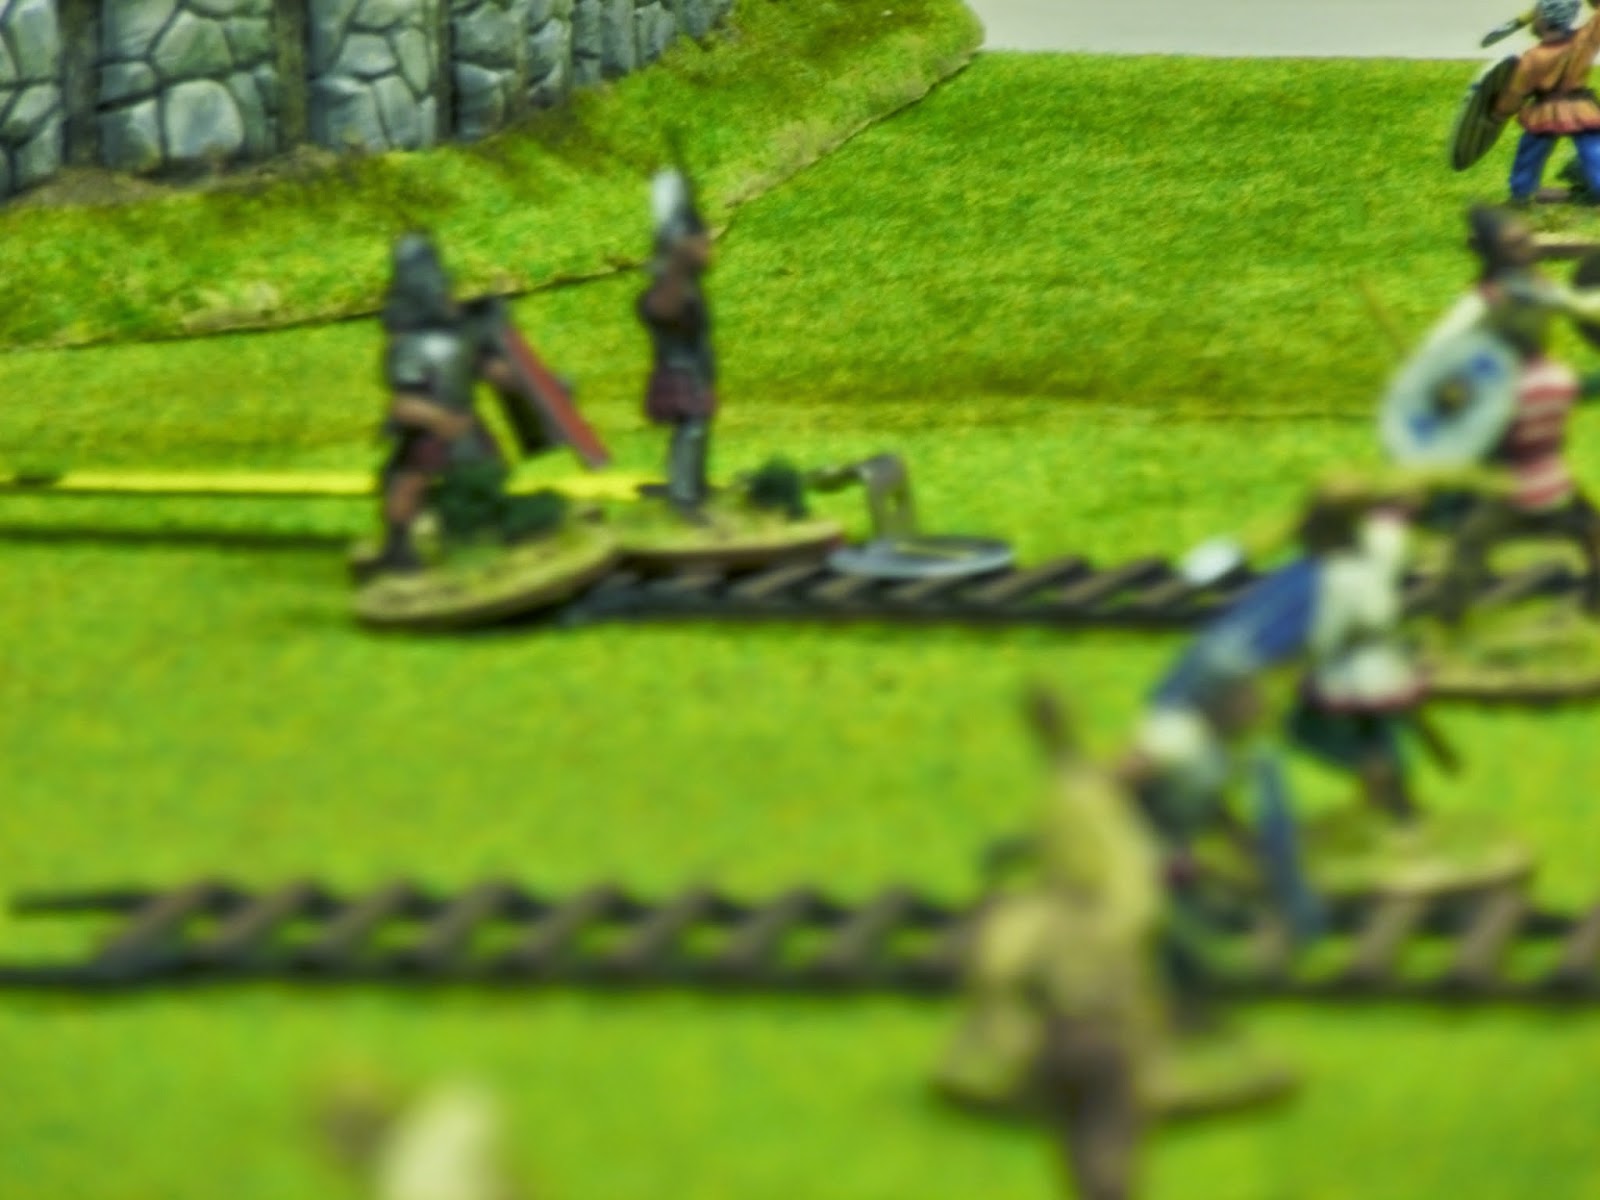
 |
| The lone survivor of the Black Watch's charge. |
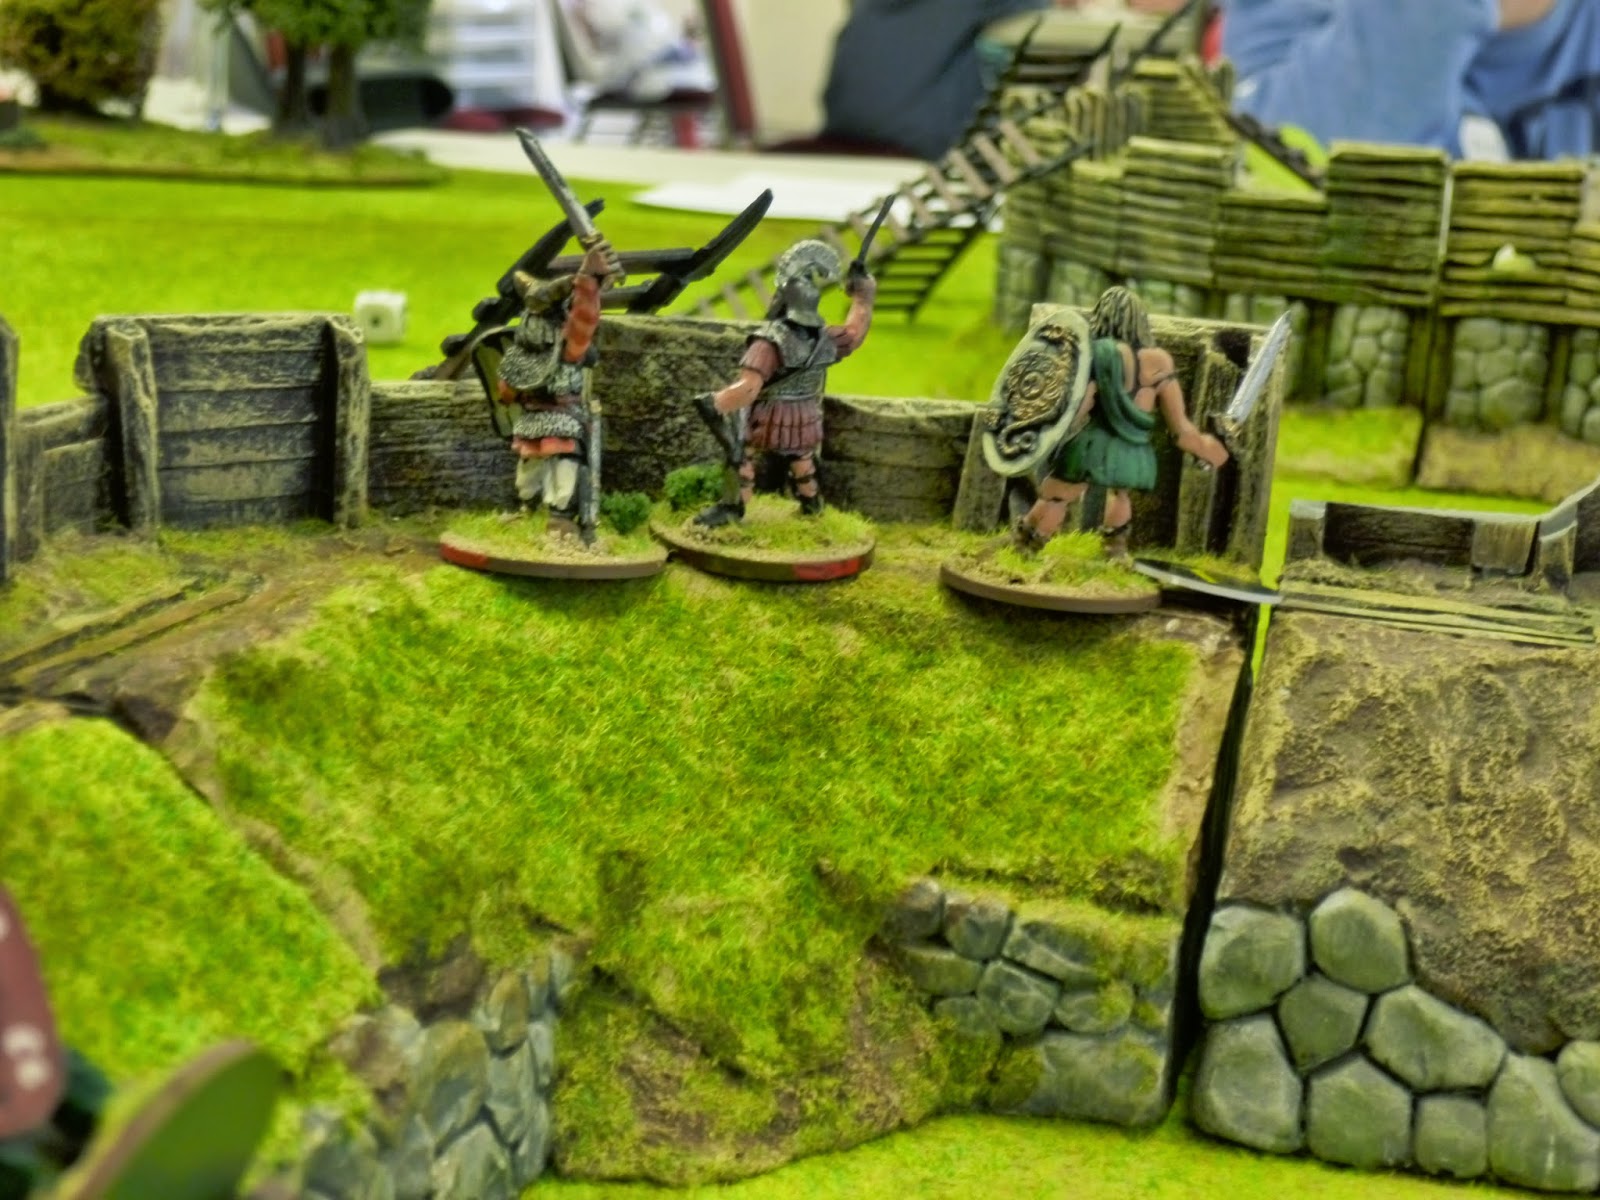
 |
| Two clansmen beat four soldiers - and kill one! |
 |
| Firing lines face off in the centre of the village. |
Seeing
his men fall all around him, Laird Micawber began shuffling to safety
on his old nag, abandoning the grey-coated survivor to his fate.
Rushing
past him in the other direction came Father McCruil and the other men
from the tower, desperate to join the fight before it was over. On
one flank, a Micawber roused his men to finish off the Black Watch,
and on the other flank the other twin directed a volley into
Castagne's men that left five dead.
The
Endgame: British Inspiration 2, 12VPs
| Jacobite Inspiration 3, 24VPs
Desperate
to salvage some shred of success from the expedition, Castagne led
the ruins of his firing line to burn another house. On
the other side of the village, Frost's men kept the highlanders at
bay with disciplined fire.
 |
| The highlanders circle the survivors warily. |
Castagne's
punishment was swift. Another Scottish volley rang out, and he fell
dying beneath his horse, the last of his men falling around him. His
last moments on earth were spent laughing at the burning thatch above
him, which says more honest words about his character than he ever
would. Highlanders
charged home all across the rest of the village, slaying with every
stroke. Jacobite
victory was at hand.
Seeing
a Micawber gesturing his men on, Frost signalled to his two
companions and fired with them. They were rewarded with a gout of
arterial blood beneath the burning eaves. They
quickly moved away, recognising that the battle was lost. Hacking
down most of his retinue, the rest of his platoon followed, eager to
get away from the mayhem and bloodshed.
The
battle was over. Long Live Bonnie Prince Charlie.
Butcher's Bill
25 Hanoverians (4 routed), 23 Jacobites (1 routed).
Victory Conditions
16VPs
to the Hanoverians, 28VPs to the Jacobites – Jacobite
Victory
Overview
A
fun and fast game, exactly what I wanted of an afternoon. The whole thing took about an hour with almost eighty figures starting on the table - not bad for a skirmish game! I meant to take more photos, but I got distracted playing the game...
The
scenario was perhaps a little unbalanced – I should have made the
highlanders poor shots to stop them standing off and shooting quite
so much. Overall
though, it seemed to begin with like anyone's game – some damn fine
rolls by the Jacobites saw them take an early lead though. Needing
to burn the buildings meant that the government men could never quite
co-ordinate their killing potential to the same degree.
So
Castagne is finally dead. Frost retreats in ignominy, and Father
McCruil has something to crow about. I
wonder what will happen next in Western Scotland, 1745..?
Midst Battle's Din is available exclusively here.
Midst Battle's Din is available exclusively here.
N.B. The flames stay on the roof because they are just cotton wool on 20mm bases (and therefore light), and the roofs have not been brushed with PVA, so they have a little grip, especially if you manage to get a little friction going between them and the wool.